How to steam a flat white at home without café training
A flat white fails more often on milk than on espresso. The shot can be decent and the drink still tastes thin, blistered, or scalded if the milk is wrong. You do not need a barista looking over your shoulder — you need a repeatable sequence, a pitcher you can see into, and a few practice runs.
This is a skill guide, not a machine shootout.
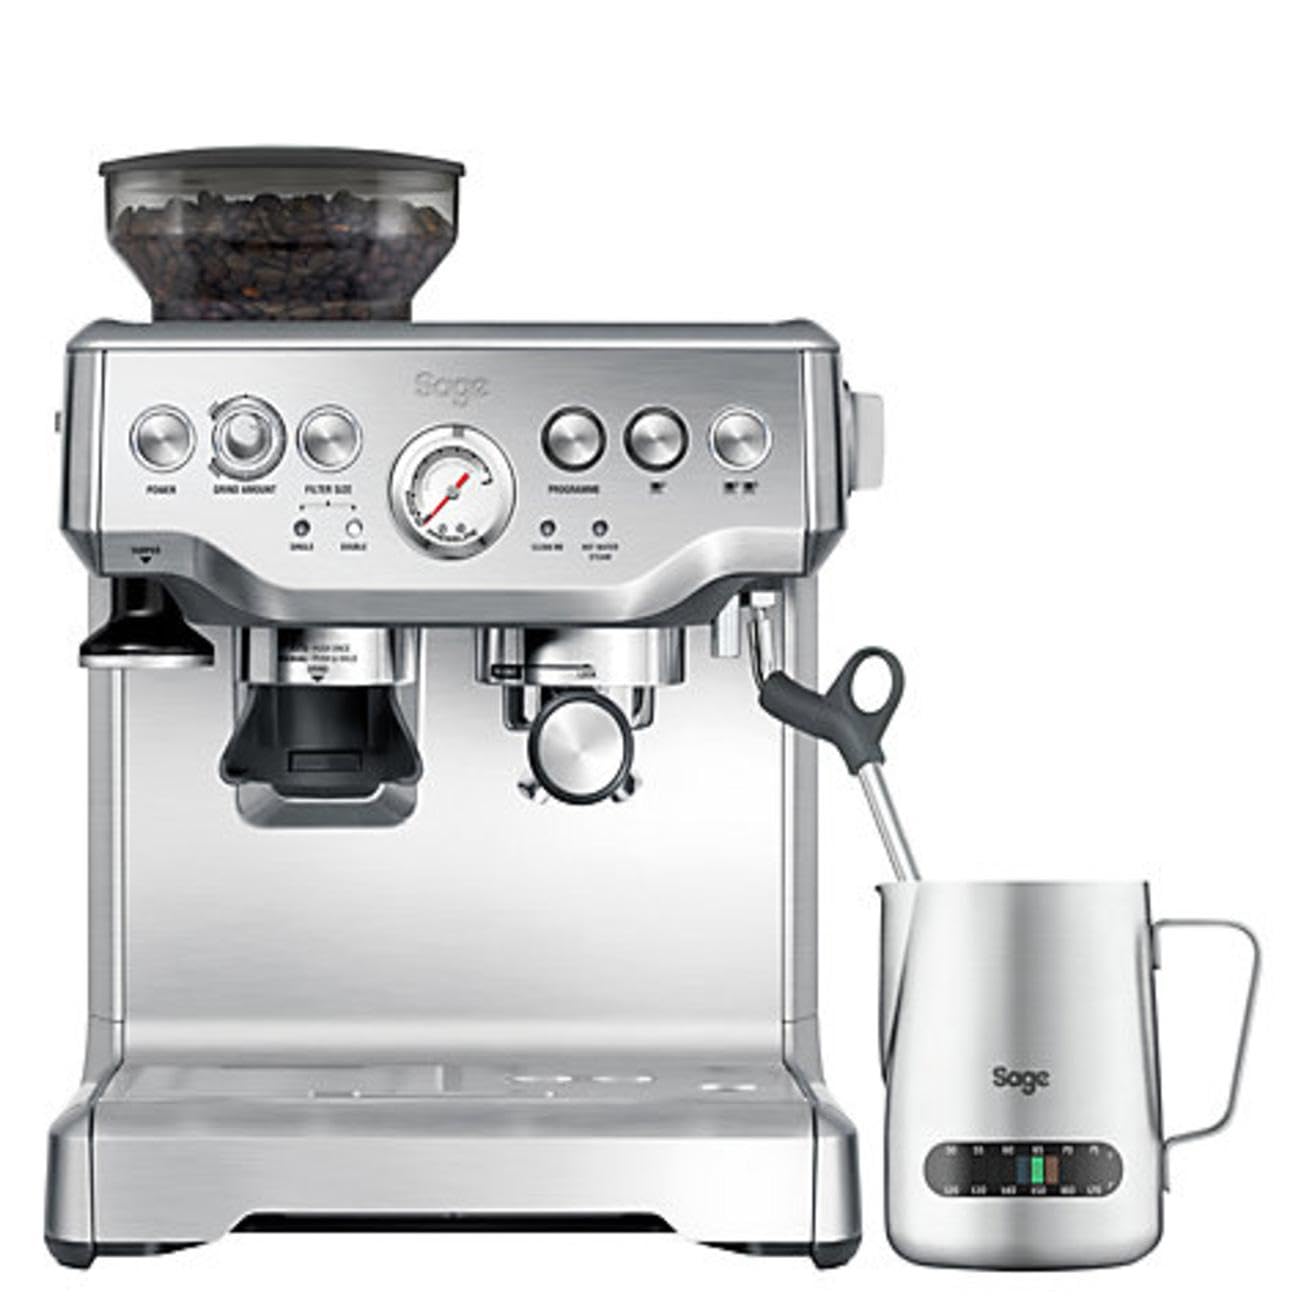
*All-in-one home machines still reward the same stretch-then-roll sequence — technique matters more than upgrading first.*
What a flat white milk should look like
Target texture is silky microfoam, not cappuccino froth:
- Glossy, paint-like surface (no big dry bubbles) - Integrated foam, roughly 1–5 mm on top after pouring — not a thick cap - Sweet, rounded taste; milk heated to about 60–65°C (hot to the touch on the pitcher wall, not screaming hot)
If it looks like bath foam, you stretched too long. If it looks like hot milk with no sheen, you did not stretch enough — or you heated without incorporating air.
What you need
- A machine with a steam wand (panarello or traditional tip — both can work) - A stainless milk pitcher (start around 300–350 ml for one drink; bigger pitchers are harder to control at first) - Cold milk straight from the fridge (whole milk is most forgiving; oat barista versions behave differently) - A damp cloth for the wand after every drink
Optional: a cheap thermometer while you learn, then graduate to hand feel.
The two-phase method (air, then texture)
Every good steam follows the same shape: stretch (add a little air), then roll (spin and heat without adding more air).
1. Purge the wand Open steam for a second into the drip tray so water clears and you get dry steam.
2. Fill the pitcher Milk to just below the base of the spout — enough for one flat white with a little spare. Too full and you cannot roll; too empty and you scorch it in seconds.
3. Tip position Put the tip just under the milk surface, slightly off-centre. Tip pointing toward the pitcher wall helps start a whirlpool.
4. Stretch (short) Open steam fully. You should hear a gentle paper-tearing or soft tss-tss as the surface dips and tiny bubbles form. Lower the pitcher a millimetre at a time so the tip stays kissing the surface.
For a flat white, stretch only 2–4 seconds on a home wand — far less than a cappuccino. Stop stretching when the pitcher volume has risen slightly and the surface still looks wet, not stiff.
5. Roll (no more air) Sink the tip a little deeper (still off-centre) so the noise goes quiet and the milk spins. Keep that vortex until the pitcher is hot to the touch — about 60–65°C. If you wait until it burns your palm, the milk will taste cooked and lose sweetness.
6. Stop, wipe, purge Close the steam. Wipe the wand immediately. Purge again so milk does not cake inside the tip.
7. Settle and swirl Tap the pitcher once to pop any large bubbles. Swirl until the surface looks like wet paint. If it separates into foam raft + thin milk, you either stretched too much or waited too long before pouring.
8. Pour Start into the centre of the espresso to mix, then lift slightly to lay a thin white layer. Fancy latte art is optional; integrated texture is not.
Practice drill without wasting milk
Fill a pitcher with cold water and a drop of washing-up liquid. Steam using the same stretch-then-roll motion. You will see bubble size clearly, and you can repeat ten times in an evening. Then switch back to milk.
Common faults (and the fix)
| What you get | Likely cause | Fix |
|---|---|---|
| Big dry bubbles | Tip too high / stretched too long | Keep tip kissing the surface; shorten stretch |
| No foam, just hot milk | Tip too deep from the start | Start higher for a short stretch, then sink |
| Screeching / screechy noise | Tip sucking air unevenly or too shallow | Re-centre; keep tip barely submerged |
| Scalded, sweetless milk | Too hot | Stop earlier; aim 60–65°C |
| Foam floats as a separate cap | Over-aerated or not swirled | Less stretch; swirl to recombine before pour |
| Weak flat white, watery | Too much milk for the shot / under-extracted espresso | Dose milk for one drink; fix the shot separately |
Panarello vs “pro” wand
Many UK home machines ship with a panarello (outer sleeve). It injects air for you, so your job is mostly pitcher angle and timing — easier to get some foam, harder to get ultra-fine microfoam. Traditional tips need more tip discipline but reward practice. Either way, the stretch-then-roll idea still applies; you just stretch less aggressively with a panarello.

*Traditional wands need more tip discipline but reward the same short stretch, then long roll.*
Milk notes for UK kitchens
- Whole dairy is the easiest learning milk. - Semi-skimmed foams, but collapses faster and tastes thinner. - Oat barista can steam well but often needs a slightly longer roll and cooler finish; supermarket “oat drink” (non-barista) often splits or stays flat. - Always start cold. Warm milk from the counter is harder to control.
How this fits your machine (without buying another one)
If you already own a home espresso machine with a wand, learn on that before upgrading. Steaming skill transfers. A nicer wand helps later; it does not replace practice.
If you do not have a steam wand at all, this guide is not your path — immersion frothers and manual whisks make hot foam, not classic wand microfoam. That is a different drink.
A simple one-week practice plan
- Day 1–2: Water + soap drills until you can start a vortex on demand - Day 3–4: Real milk, ignore pour art, chase glossy texture only - Day 5–6: Hit temperature by touch (spot-check with a thermometer once) - Day 7: Pour into espresso and taste: sweetness, no big bubbles, thin integrated layer
Bottom line
A home flat white is mostly short stretch, long roll, stop before scald, swirl until glossy. Film yourself from the side once — tip depth is easier to correct on video than by feel alone. Café training is useful; it is not required if you repeat the same sequence until it is boring.